• Home
  • About Me
  • Impressum
  • How Can I Help You?
  • Podcast Recommendations
  • Recommended Reading List
  • People I Follow

Food Fitness and Fun – ByCandace

~ Good Health Made Simple

Food Fitness and Fun – ByCandace

Category Archives: Food

How-To: Cook Scallops Perfectly!

26 Monday Sep 2016

Posted by ByCandace in Food

≈ 1 Comment

Tags

#How-To, #scallops

It is so easy to cook scallops perfectly, people mess it up!

Tools:  paper towels, medium size pan, tongs, timer

Ingredients: large sea scallops, salt, pepper

Cooking Fat: butter or ghee or avocado oil or coconut oil

Optional Ingredients: white wine, lemon juice, shallots, garlic cloves


Instructions:

Rinse scallops with cold water

Dry scallops with paper towels (this allows them to sear)

Heat a dry pan nice and hot (medium-high heat), once the pan is almost smoking

Add cooking fat to pan, swirl around so the bottom of pan is coated

Add scallops, leave alone – do not move them, add salt and pepper, cook with a timer for 2 mins

Turn fire down to medium heat

Use tongs or spoon to flip them over, leave alone – do not move them, add salt and pepper, cook with a timer for 2 mins

IMPORTANT NOTE: Do not cook more than 2 mins per side, they will over cook and be big pieces of rubber. They should be seared on the outside, but slightly translucent on the inside.


Remove from pan and place on plate(s)

Should you choose – sauté shallots and or fresh garlic cloves, once brown, deglaze the pan with butter or ghee, white wine and lemon juice. Once reduced a little spoon over scallops; it shouldn’t take long since the pan is so hot. If you do not want shallots or garlic, just deglaze the pan and spoon over scallops.

Serve immediately.

Done! Eat! Enjoy!

Share this:

  • Click to share on Facebook (Opens in new window) Facebook
  • Click to share on Pinterest (Opens in new window) Pinterest
  • Click to share on X (Opens in new window) X
  • More
  • Click to email a link to a friend (Opens in new window) Email
  • Click to print (Opens in new window) Print
Like Loading...

Recipe: All-In-One-Meal – Bacon Wrapped Pork Tenderloin w/ Potatoes & Onion

09 Tuesday Aug 2016

Posted by ByCandace in Food

≈ 3 Comments

Tags

#bacon, #onepotmeal, #porktenderloin

I made this for lunch this past Sunday for friends; It was a big hit! I used a base recipe and modified it to what I know and like. My version is below.

Recipe: All-in-one-Meal – Bacon Wrapped Pork Tenderloin w/ Potatoes & Onion

Tools:

  • Large Baking Sheet
  • Foil
  • Tongs
  • Toothpicks

Ingredients:

  • 2 Pork Tenderloins
  • 1 pkg of Bacon
  • 1 Yellow Onion
  • 1 small bag of Fingerling or other Potatoes
  • Butter
  • Avocado oil
  • Salt
  • Black Pepper
  • Garlic Powder
  • Bragg’s Organic Herb & Spices Seasoning

Sauce Ingredients:

  • ¾ Cup of Braggs Liquid Aminos
  • ½ tbs Garlic Powder
  • 1 tbs Onion Powder
  • 2 tbs Red Wine Vinegar
  • ¼ tsp Salt
  • ½ tsp Black Pepper
  • ¼ cup of real maple syrup
  • ½ cup of dark brown sugar

Directions:

Pre-heat the oven to 400 degrees. Double line a baking sheet with non-stick foil. Let your pork get to room temperature. Wisk-up your sauce ingredients in a bowl and set aside. Rinse and dry your pork tenderloins. Drying the meat will help it to brown better.

Get a pan really hot on the stove-top, then add some butter, salt, and garlic in the pan. Sear your tenderloins on all sides in the pan one at a time, adding more butter, salt, and garlic in between.

While searing the first one lay out bacon slices on a chopping board and sprinkle with black pepper and herb mix of your choice, I like Bragg’s Organic Herb & Spices Seasoning but you can use whatever you like. Once seared, place the tenderloin on the bacon. Wrap the bacon around the tenderloin, secure with toothpicks, and place on foil lined baking sheet. Repeat for the second tenderloin.

Pour sauce mixture over the top of the tenderloins. Whatever sugar is at the bottom of the bowl, scrape that over the top of each tenderloin.

Chop onion in medium-ish pieces, see picture, and spread around the tenderloins.

Then oil the potatoes, sprinkle salt and whatever seasoning you like on them and spread them around the tenderloins.

Uncooked Pork Tenderloin

Bake for 45 minutes. Broil on Low for 5 minutes (gets bacon crispy). Then remove from oven and let rest for 15 to 20 minutes. Slice with toothpicks in and serve. Drizzle a couple of spoonful of sauce over each portion.

Done! Eat! Enjoy!

Finished Pork Tenderloin

Share this:

  • Click to share on Facebook (Opens in new window) Facebook
  • Click to share on Pinterest (Opens in new window) Pinterest
  • Click to share on X (Opens in new window) X
  • More
  • Click to email a link to a friend (Opens in new window) Email
  • Click to print (Opens in new window) Print
Like Loading...

Bone Broth

05 Friday Aug 2016

Posted by ByCandace in Food

≈ 4 Comments

Tags

#bonebroth, #broth, #crockpot, #instantpot, #kettle&fire, #slowcooker, #thrivemarket

Bone broth has become very trendy and all the rage over the past couple-ish years for good reason. It is an incredibly healthy food that was all but lost from most homes. It’s back now and so very important for optimal health and longevity.

Just about every Paleo/Ancestral/Whole Food blogger has a post or multiple posts on the value and nutrition of bone broth.

You can also purchase pre-made bone broth. Other than Kettle & Fire Grass-fed Bone Broth which I do usually keep in my pantry at all times, I find that the others are pretty expensive considering it doesn’t cost very much to make it yourself.

Here are some of the folks I trust, if you are going to purchase instead of make it.

  • Kettle & Fire – This is my favorite; you can get the beef or chicken at Thrive Market.
  • Bare Bones Broth
  • The Brothery
  • Boneafide Provisions Restorative Bone Broth
  • The Osso Good Co.
  • Au Bon Broth
  • The Flavor Chef

Be aware of boxes of “broth” you can purchase in the average grocery store, they are full of all kinds of yucky ingredients you don’t want in your body. Read your labels.

How I Make Bone Broth

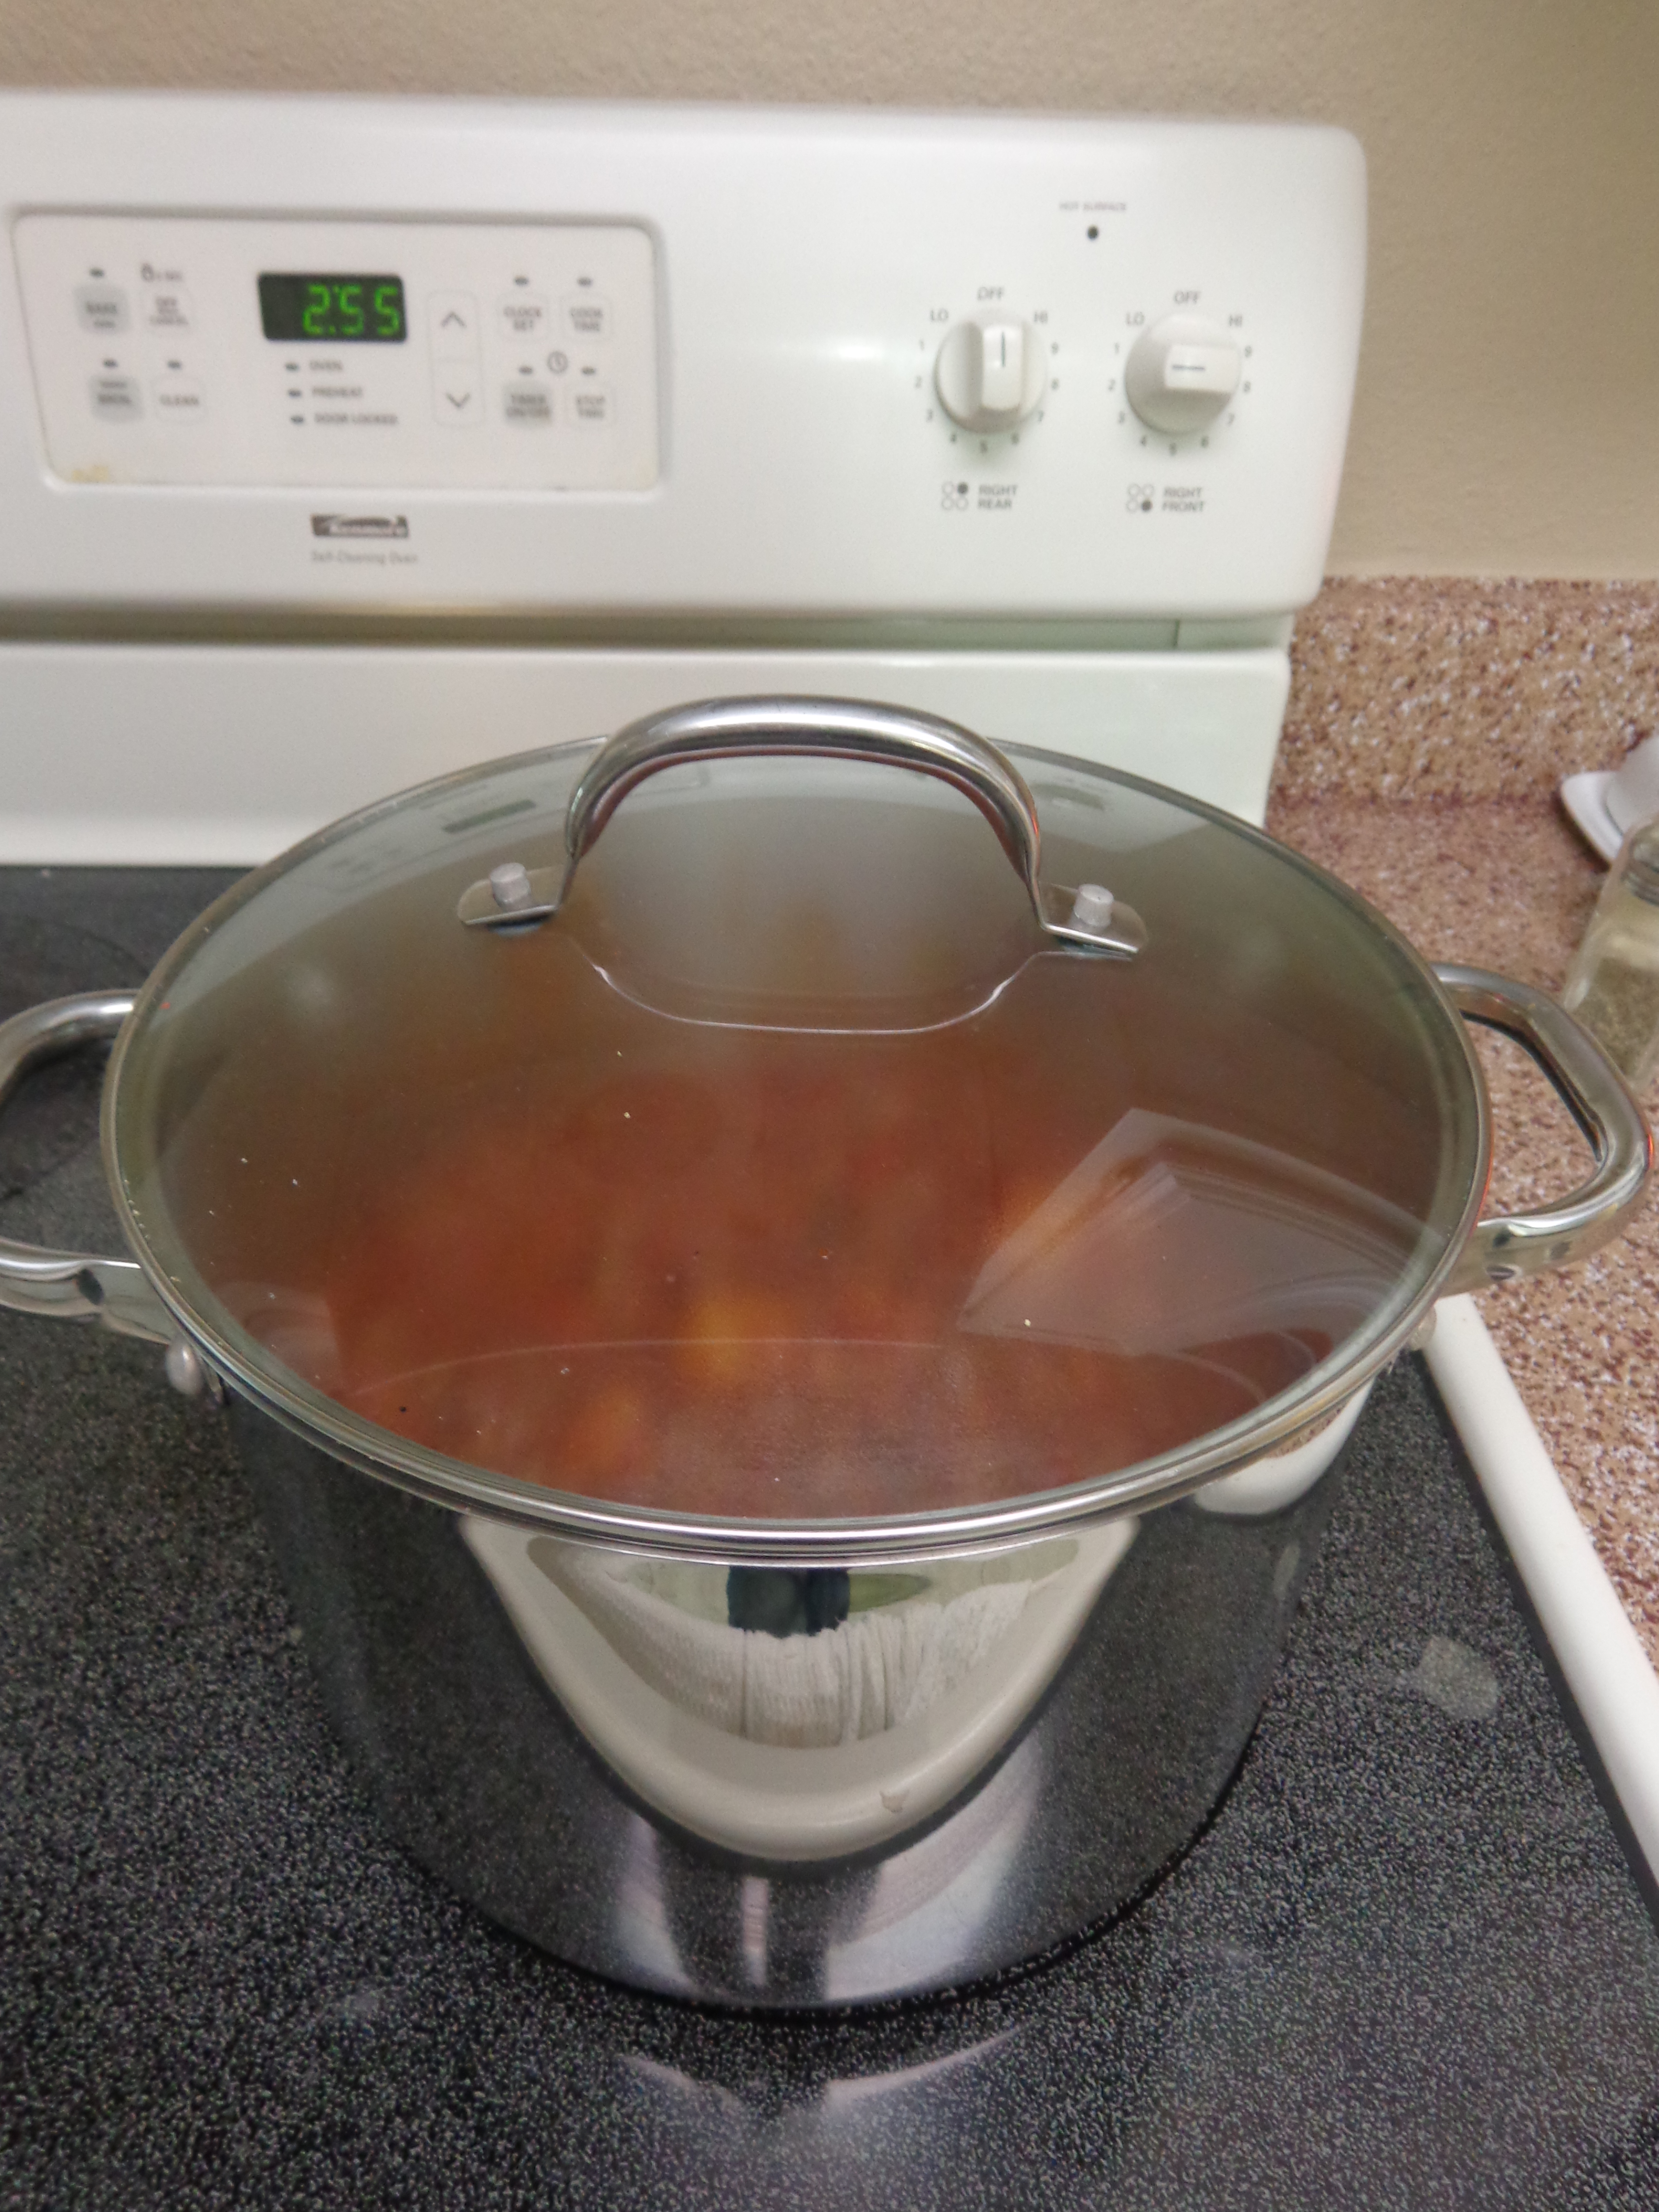
I like using my large oval crockpot or Instant Pot on slow-cooker mode. I prefer the low-n-slow method. You can do my way in a stainless steel stock pot on the stove as well.

I am always collecting bones; large ziploc bag of bones in my freezer at all times. When I get a full gallon size freezer ziploc bag full of bones, I know it is time to make broth.

The quality of your bones is really important; get grass-fed beef, free-range pastured chickens and pork bones. You can also make stock from duck, turkey, lamb, or deer.

The bones that I collect are mostly from our dinners, I save all our chicken bones and steak bones, pork chop bones etc. These work the best because they were seasoned well and browned in the cooking process. I keep the fat on the bones if I can and save it too along with the fat that I cut off and don’t eat. I mix my bones and use all the different types in each batch.

If you buy a bag of bones from a butcher, store, or farm I suggest putting some salt and pepper on them and roasting them in and brown in the oven before making broth from them; it provides so much more flavor.

Bone Broth Instructions

I get my crockpot out and fill it with good filtered water, I turn it on high and let the water start getting really hot.

I add ¼ cup of apple cider vinegar and some real salt. You can add additional salt to the finished product as well, should you not add enough at the start.

Then I pull out my very favorite secret – Regency Soup Socks I put all my bones in one soup sock and tie a double knot at the top. I put the bones in the water.

Timing: Some people like to cook their bones for 24 hours. I like to cook mine for 10 – 12 hours because that is how many hours on my crockpot and am able to plan ahead for. The longer you cook the more gelatinous the result should be; it also depends on your bones. The longer you cook it the deeper and richer the flavor will be.

Note: If you use the stove-top you want to get it to a good boil to start then lower the heat to a simmer. Watch to make sure your water doesn’t get too low; you may have to add water. You do not have to add water to the crockpot, since it is sealed, and it creates more of a gelatinous result.

In a second soup sock I add onion, garlic cloves, celery, a couple bay leaves, 1 – 2 lemons cut in ½ or ¼ – I squeeze the juice in and then throw them in the bag. I like to wait until around 4 hours before the broth is done cooking before I add this bag to the crockpot. You can also add fresh or dried herbs, but wait until a couple of hours before you are done before adding them.

Once it is done cooking, I pull the bags out and trash them.

I let the broth cool for a while, but not all the way.

Once it is cooler, I get my jars, strainer, and a ladle and put it in the containers.

I allow them to sit uncovered until completely cooled to room temperature.

I put them in the fridge and freezer and use them as needed.

Uses for Your Broth

It is awesome to warm up a mug and add some lemon and sea salt and drink it every day. The healing effects on your body over time will be very noticeable. I love to use it for my liquid to warm up foods. And naturally, making soup with the broth is a great way to get it in your diet.

Leave me a comment and let me know if and how you use bone broth in your life.


I purchase my Kettle & Fire Grass-fed Bone Broth from Thrive Market –

Thrive Market allows you to shop for all the healthy food items you know and love at discount prices, because they cut out the middle man, and it gets delivered to your door so it also saves you time. Not only to you save money, but for every paid membership Thrive Gives a membership to a family in need.

I’m currently projected to save $500 – $600 on my groceries in 2016 by purchasing from Thrive Market.

Share this:

  • Click to share on Facebook (Opens in new window) Facebook
  • Click to share on Pinterest (Opens in new window) Pinterest
  • Click to share on X (Opens in new window) X
  • More
  • Click to email a link to a friend (Opens in new window) Email
  • Click to print (Opens in new window) Print
Like Loading...

What’s in Your Office Drawer??

27 Wednesday Jul 2016

Posted by ByCandace in Food, Nutrition

≈ 2 Comments

Tags

#DarkChocolate, #FranksHotSauce, #GoRaw, #NaturalCalm, #primalkitchen, #RealSalt, #SeaSnax, #SuperBeets, #TheRepublicTea, #thrivemarket, #TrueLime, #VitalProteins, #VitaminC

It is my assumption that the majority of people spend most of their day at job away from their home. I do. So it begs the question….What’s in Your Office Drawer??

I keep my biggest drawer at work full of healthy snacks, condiments, and supplements etc.

I wanted to share with you what I have in my office goodie drawer today….right now….on the fly….(please don’t judge my pictures)

Office Drawer Stuffs 1

  • Primal Kitchen – Greek Vinaigrette (made with avocado oil and oil of oregano)
  • Great Lakes Gelatin – I use this in my tea and coffee BUT – I have switched to Vital Proteins brand now, because it has a tight lid for easy clean travel.
  • Frank’s Original Red Hot – I spicy up all sorts of food with this stuff
  • The Republic of Tea – Get Lost
  • Natural Calm Magnesium – – I mix this in my water when I take my vitamin C
  • Super Beets – Beets are super health for you. I found this at a health food store.
  • Health Force Nutrition – Vitamin C

Office Drawer Stuffs 2

  • Jarrow – L-Lysine – I’m not so picky on the brand for this specific supplement; Jarrow or NOW works just fine.
  • Bluebonnet – NAC – Same here….I’m not picky on the brand for this specific supplement; Jarrow or NOW works just fine.
  • In the sliver pkg is Blue Diamond Natural – Almond Nut-Thins – I like to eat my chicken salad on the pepper-jack flavor.
  • Seasnax – Organic Roasted Seaweed Grab & Go – Classic
  • Coconut Organic Dark Chocoate – 70% Cocoa
  • Primal Grass-fed Spicy Beef Sticks
  • Go Raw – Tangy Lime Coconut Crisps
  • True Lime – Unsweetened Crystallized Lime
  • Redmond Real Salt

I would love for you to leave me comments to tell me what your office snack drawer.

I highly suggest you Sign-up for Thrive Market

Thrive Market allows you to shop for all the healthy food items you know and love at discount prices,  because they cut out the middle man, and it gets delivered to your door so it also saves you time. Not only to you save money, but for every paid membership Thrive Gives a membership to a family in need.

Share this:

  • Click to share on Facebook (Opens in new window) Facebook
  • Click to share on Pinterest (Opens in new window) Pinterest
  • Click to share on X (Opens in new window) X
  • More
  • Click to email a link to a friend (Opens in new window) Email
  • Click to print (Opens in new window) Print
Like Loading...

How to make even the most simple of foods delicious, flavorsome, scrumptious, succulent, mouthwatering and juicy!

16 Thursday Jul 2015

Posted by ByCandace in Food

≈ 2 Comments

I work full-time, keep up with the house, run errands, etc. etc. etc……you get it!

I have been working really hard to find ways to make the most simple foods taste fantastic with the least amount of time and effort. I cook a lot for myself and my husband…..also for small house parties. So, it is important that I maximize time and effort.

I found the answer…..brining and/or marinating. I’m totally in love with brining!

If you Google brine you will learn that it means to soak or saturate with salty water. It is amazing what this process does to ordinary chicken. You can do this for a long as you have to do it….the longer the better.

I have now branched out, adding things like black currant tea, the juice of lemons or limes, black pepper or pepper corns, and bay leaves to the salty water. Use what you have on hand.

The best is to soak it overnight in a container wit a lid (after the meat is thawed) in the refrigerator. If you forget, as I often do, I will get it soaking sometime in the morning hours until dinner time. Some time is better than no time!

After you pull your chicken out of the brine, rinse it with cold water and pat it dry before you season it and cook it.

There is a fine line between brining and marinading…..since most marinades have salt and water in them. Anyway……

Some of the best chickens I have cooked lately have resulted from soaking in light beer, lemon juice, salt, and a lot black pepper overnight. Also, had really good results from just soaking overnight in Shiner Bock beer. Again, pulling the chicken out of the beer, rinse it with cold water and pat it dry before seasoning it and cooking it.

I did a recent marinade with steak, which I usually don’t do with beef, but again I was looking for something different for my tongue. It was comprised of equal parts whisky and balsamic vinegar. I think I used 1.5 oz or a standard shot glass worth of each. I let it sit in a ziplock with the steaks for about an hour turning it over frequently for even distribution. Then remove the steaks, let them rest and pat them dry before seasoning and cooking.

Every time I am grilling veggies I marinade them. This also works nicely when roasting the veggies in the oven. It takes your veggies to a whole other flavor level. The basics: olive oil, acid (vinegar or citrus fruit), sea salt, pepper (black or red), and herbs of your choice.

The best part is that it takes little to know time to do this but it can make all the difference in the world for the flavor of your dish. You will see your typical recipes be devoured faster than ever before if you brine or marinade them first.

Brining and/or marinading your most basic food items will make them delicious, flavorsome, scrumptious, succulent, mouthwatering and juicy!

Feel free to leave comments on this post with your brining experiences.

Share this:

  • Click to share on Facebook (Opens in new window) Facebook
  • Click to share on Pinterest (Opens in new window) Pinterest
  • Click to share on X (Opens in new window) X
  • More
  • Click to email a link to a friend (Opens in new window) Email
  • Click to print (Opens in new window) Print
Like Loading...

Introducing: Kasandrinos International

21 Thursday May 2015

Posted by ByCandace in Food, General, Lifestyle, Nutrition

≈ Leave a comment

Tags

#evoo, #extravirginoliveoil, #greekoliveoil, #kasandrinos, #oliveoil

kasandrinos organic extra virgin greek olive oil

It is my tremendous pleasure to introduce a company to you all….Kasandrinos International. I love to support family owned businesses; what’s better than a brother and sister team?! This twosome Effi and Tony Kasandrinos opened their business to share their passion with us….fantastic imported Greek organic extra virgin olive oil from their father’s village in Greece. That’s not all they offer….they also provide body care products, seasonings, and more!

I know I love the “built my business out of my garage” stories, but how about “out of the trunk of my car”??!? Oh yes…that is where it all started! The American dream is in full swing for the active duty U.S. Marine, Tony, who is located in my great state of Texas!! AND his sister Effi who is located in Las Vegas.

I hope you all take the time to get to know and choose to support this wonderful team and company. In this you can also support me in my bogging endeavors as I am so fortunate that the Kasandrinos’ have accepted me into their affiliate program as a brand ambassador. What an honor! 🙂

When you decide to make a purchase, because I know you will! – please use the link below to do so….

Affiliates

kasandrinos organic extra virgin greek olive oil

Share this:

  • Click to share on Facebook (Opens in new window) Facebook
  • Click to share on Pinterest (Opens in new window) Pinterest
  • Click to share on X (Opens in new window) X
  • More
  • Click to email a link to a friend (Opens in new window) Email
  • Click to print (Opens in new window) Print
Like Loading...

Recipe: Main Dish – Mozzarella Stuffed Italian Meatballs

09 Thursday Apr 2015

Posted by ByCandace in Food

≈ 1 Comment

I did this recipe on the fly yesterday, easy and the fast way – alternatives shown below.

Recipe: Main Dish Mozzarella Stuffed Italian Meatballs

IMG_1954

Ingredients:

  • Fresh Mozzarella Balls (cherry sized / in water not oil)
  • 1 lb of grass-fed ground beef (venison, turkey, or pork would work as well)
  • 1 Whole egg
  • Garlic Powder or fresh garlic if you so desire
  • Onion Powder or fresh onions if you so desire
  • Italian Seasoning Blend
  • Basil
  • Salt / Black Pepper
  • Red Pepper Flakes (optional)
  • 2 Tbs gluten-free generic flour

Directions:

Gather all the ingredients plus a flat baking sheet and bowl. Pre-heat oven to 375 degrees.

Put ground beef, egg, seasonings, and flour in the bowl and mix by hand till it is blended together and sorta sticky. Take 8 mozzarella balls out of the container and place on a napkin near the bowl. form a meat ball, make a little dip in it put a mozzarella ball in the middle and form the meat around it. Do this 8 times, making 8 meatballs. For those who are not tolerant to dairy, you can also use cherry tomatoes and it is quite delicious.

Bake on one side for 20 mins. Flip them over and bake for another 20 mins.

Done! Eat!

Enjoy on their own. Dip in Tomato sauce. Enjoy with Egg Plant Pizzas or other Italian dish of choice.

Share this:

  • Click to share on Facebook (Opens in new window) Facebook
  • Click to share on Pinterest (Opens in new window) Pinterest
  • Click to share on X (Opens in new window) X
  • More
  • Click to email a link to a friend (Opens in new window) Email
  • Click to print (Opens in new window) Print
Like Loading...

Recipe: All-In-One-Meal or Side Dish – Eggplant Pizzas

24 Tuesday Feb 2015

Posted by ByCandace in Food

≈ 1 Comment

When eating only whole non-processed foods, I like to find ways to enjoy the flavors of the more processed less ideal foods.

I love pizza! And I have been kicking around the idea of trying to make a cauliflower pizza crust…..but I had an eggplant in my refrigerator already. I think these can also be made in zucchini boats as well if you do not like or cannot eat eggplant.

Recipe: All-In-One Meal – Eggplant Pizzas

Ingredients:

  • 1 medium to large eggplant
  • Sea salt
  • 5 – 6 fresh finely chopped garlic cloves
  • Butter
  • Olive Oil
  • 1 Can of petite diced tomatoes or you can cut up fresh tomatoes
  • Pepperoni
  • Dried or Fresh Basil
  • Italian Seasoning
  • Black pepper
  • Finely Shredded Mozzarella

Side note: I think that the next time I make it, I might add in a small amount of onion and green bell pepper for flavor layering.

Directions:

Gather all your ingredients, including a sharp knife, chopping board, paper towels, a frying pan, and a baking sheet. Pre-heat your oven to 375 degrees.

Other Stuffs

Start by chopping the ends off the eggplant and discarding or composting it. Then slice the eggplant about 3/4 of an inch think slices, for now leave the skin on. Lay out a double layer of paper towels and place the eggplant on them. Liberally salt both sides of the eggplant and allow to sit for about 20 – 30 mins to draw the water out of the eggplant. If you do not, they will tend to get mushy while cooking.

Salted Eggplant

While the eggplant is resting, chop up your garlic in relatively small pieces (also, onion and green bell pepper) if you so desire. Saute the garlic in the pan with some butter and salt, do not over cook or it will have a biter taste. Add in the petite diced tomatoes with some salt, pepper, and Italian seasoning, to taste. I was fairly liberal with all of them because the tomatoes and garlic is where most of the flavor from the dish will come from.

While that is cooking down (most of the liquid will evaporate). Use paper towels to blot and rub the salt off both sides of the eggplant. You will notice that the paper towels they were laying on is quite wet. Place eggplant on the baking sheet (a silicone liner or parchment paper will help them from sticking) and brush with olive oil. Season then with black pepper, Italian seasoning, and a little garlic powder. Place in oven for 25 minutes to cook. Do not over cook or the end result will be mushy; so if your oven runs hot keep an eye on them starting around 20 minutes.

Once the time as lapsed, pull them out and turn on the broiler. While the broiler is rising to temperature, top with the tomato mixture (you shouldn’t have any left), mozzarella cheese, pepperoni, and a little more mozzarella cheese. Place under the broiler until the cheese is melted and a little brown. This took about 1 minute and 10 seconds in my oven!

Finished

Let them sit for a few mins to cook a bit – they will be really hot and burn you. The little bit of cooling also allows for them to solidify together more like a pizza. After I plated mine, I slit the side of the skin and peeled it off; you can eat it if you want to.

Done! Eat! Enjoy!

Share this:

  • Click to share on Facebook (Opens in new window) Facebook
  • Click to share on Pinterest (Opens in new window) Pinterest
  • Click to share on X (Opens in new window) X
  • More
  • Click to email a link to a friend (Opens in new window) Email
  • Click to print (Opens in new window) Print
Like Loading...

Recipe: Side Dish – Red Wine & Garlic Mushrooms

20 Tuesday Jan 2015

Posted by ByCandace in Food

≈ Leave a comment

Red Wine & Garlic Mushrooms 

IMG_1749

Ingredients:

  • 1 pkg Mushrooms
  • Lots Fresh Garlic
  • 1/4 Cup Red Wine (of choice)
  • 1/3 Stick of Butter
  • Garlic Powder
  • Salt (to taste)
  • Pepper (to taste)

Directions:

Heat up a skillet, add butter and let melt. I like to salt, pepper, and garlic powder the butter and then add in the mushrooms and then salt, pepper, and garlic powder again. Allow to cook at medium heat until the mushrooms cook down a bit and perhaps get a little color on them. Then add the fresh minced garlic. Allow the garlic to cook until soft and you can smell it, then add the red wine. Allow to cook until the wine is absorbed or cooked out (see picture above).

Done! Eat!

P.S. I made these last night as a side dish, but ended up eating the whole thing as an appetizer as I cooked the rest of dinner. Ooooops!

Share this:

  • Click to share on Facebook (Opens in new window) Facebook
  • Click to share on Pinterest (Opens in new window) Pinterest
  • Click to share on X (Opens in new window) X
  • More
  • Click to email a link to a friend (Opens in new window) Email
  • Click to print (Opens in new window) Print
Like Loading...

Recipe: All-In-One Meal – Spicy Pineapple Chili (Shout Out)

03 Wednesday Dec 2014

Posted by ByCandace in Food

≈ 1 Comment

I love cold weather! Since I live in Texas it is not common and does not last long….so I take advantage! Cold weather to me equals chili! I will typically post my own recipes, however I have to give a shout out! A couple of years ago or so, I found Civilized Caveman’s Spicy Pineapple Chili (http://civilizedcavemancooking.com/entrees/beef/spicy-pineapple-chili/). It is soooo good, so during this time of year I keep it in stock at all times.

Since make it so often it changes a little each time I make it now. Ultimately, it is George Bryant’s recipe though. Here is my spin on it.

Recipe: All-In-One Meal – Spicy Pineapple Chili

Ingredients:

  • Butter (grass-fed preferred)
  • 1 Yellow onion diced (white is ok too)
  • 4 Cloves of garlic diced small
  • 1 Green bell pepper diced
  • 1 Red or orange bell pepper diced
  • 1lb of bacon diced
  • 1lb of ground beef (grass-fed preferred)
  • 1lb of ground buffalo
  • 1 Shiner bock
  • 2 Cans fire roasted tomato
  • 1 Can tomato sauce
  • 1 Can of pineapple chunks or fresh pineapple drained
  • Salt
  • Black pepper
  • Garlic powder
  • Cayenne pepper
  • Crushed red pepper
  • 2 tsp Cumin
  • 1/4 Cup chili powder

Directions:

Gather all your ingredients, including a sharp knife, chopping board, a frying pan, and a large pot.

I like to cut my bacon up in small pieces, cook them up in the frying pan, after browned set aside drained on a napkin.

2

3

I like to use the bacon grease to cook up the diced onions and bell peppers. If you do not have a lot of time you can cook the bacon up while you are browning the diced onions and bell peppers in the butter in the large pot.

4

Season them with salt, black pepper, and garlic powder. I like to use some of the Shiner bock to deglaze the pot. You could also use homemade beef broth/stock for your liquid.

5

Add in the fresh garlic and cook for a few more minutes.

6

Add in the meat.

6.5

Season with salt, crushed red pepper, cayenne pepper, and garlic powder.

8

Once the meat is brown and cooked thoroughly, add in the 2 tsps of cumin and 1/4 cup of chili powder and mix until the spices are distributed evenly.

9

Then pour in the rest of the Shiner bock.

10.5

10

Add in both cans of fire roasted tomatoes and tomato sauce. Season with a little more garlic powder, salt, and black pepper.

11

Mix in.

12

Add all the yummy bacon.

13

14

Now the fun part!!! The pineapple! Drain it!!! Then dump right in with the rest.

15

I like to allow at least 1.5 hours to simmer up to several hours. If you cook a long time you might have to add another Shiner bock as it evaporates off and still gives it flavor. You could also use homemade beef broth/stock for your liquid if you are completely anti-beer.

16

Even better is to cook it up for a while, let it cool down to room temperature, put in the fridge (in containers) and eat the next day. It tastes even better after allowing the flavors to set-in overnight.

Share this:

  • Click to share on Facebook (Opens in new window) Facebook
  • Click to share on Pinterest (Opens in new window) Pinterest
  • Click to share on X (Opens in new window) X
  • More
  • Click to email a link to a friend (Opens in new window) Email
  • Click to print (Opens in new window) Print
Like Loading...
← Older posts
Newer posts →

Enter your email address to follow this blog and receive notifications of new posts by email.

Follow Food Fitness and Fun – ByCandace on WordPress.com

Categories

  • Babies: Before, During & After
  • Beauty
  • Book Review
  • Books
  • Essential Oils
  • Fitness
  • Food
  • Fun
  • General
  • Lifestyle
  • Nutrition
  • Travel

Facebook: ByCandace

Facebook: ByCandace

Recent Posts

  • HIFU Skin Tightening Treatment
  • Another New Year
  • Recipe: Side Dish – One-pan Roasted Veggies
  • I am….
  • The Law of Action
  • The Muscle Stick
  • On-Going Lifting Commitment to Myself

Purchase Kasandrinos Olive Oil with Discount Code: BYCANDACEKEVO

Sign-up to Purchase Young Living Essential Oils & Products

Pages

  • About Me
  • How Can I Help You?
  • Impressum
  • People I Follow
  • Podcast Recommendations
  • Recommended Reading List

Blog at WordPress.com.

  • Subscribe Subscribed
    • Food Fitness and Fun - ByCandace
    • Join 94 other subscribers
    • Already have a WordPress.com account? Log in now.
    • Food Fitness and Fun - ByCandace
    • Subscribe Subscribed
    • Sign up
    • Log in
    • Report this content
    • View site in Reader
    • Manage subscriptions
    • Collapse this bar
 

Loading Comments...
 

    %d